- Navigate to https://uptimecontroller.com/app/home
- There are two ways to create a warranty or RMA parts order. Using the uptime controller parts ordering system. The first way is if you already have a job assigned in the system, you're going to select service requests.
Note: Skip to Step 5 if you do not have an existing Job Associated and start a new purchase.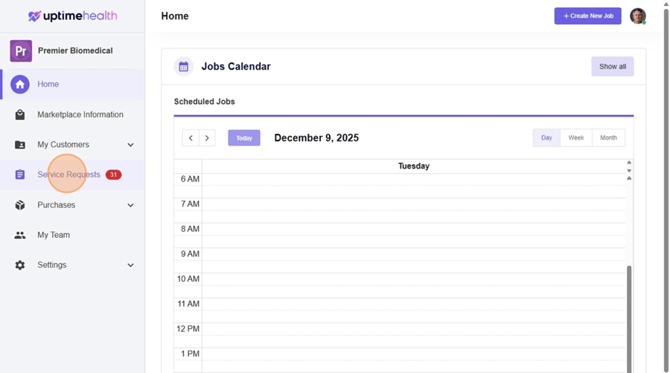
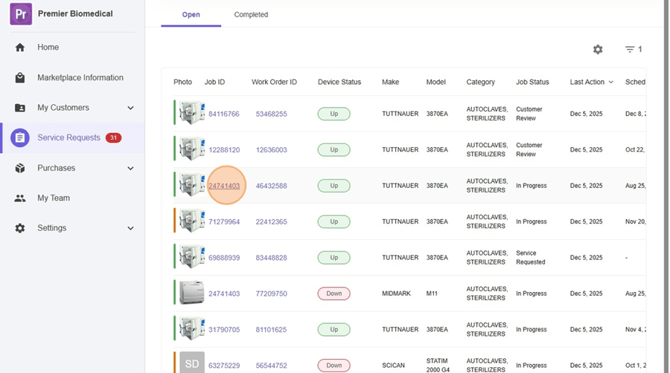
- You're then going to identify the job that you're looking at. Placing a parts order or RMA warranty order.
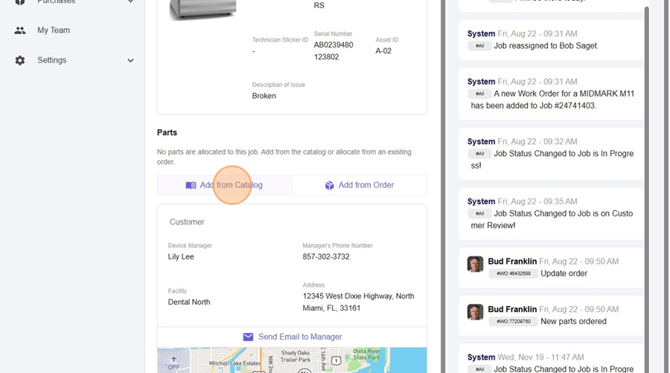
- After clicking into that job, you'll be able to scroll down and select Add from Catalog.
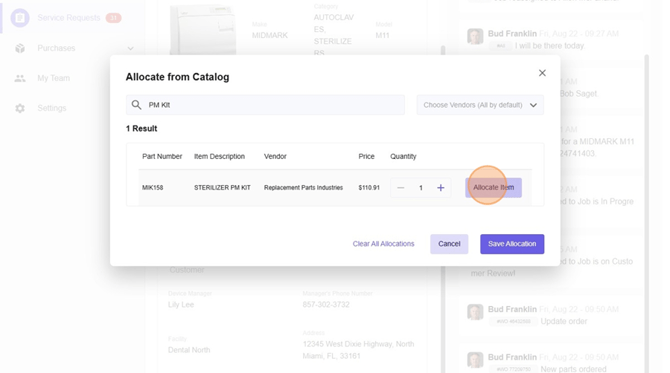
- Add your Part Number, Keyword or Description. You can also use the Vendor search on the right hand side.
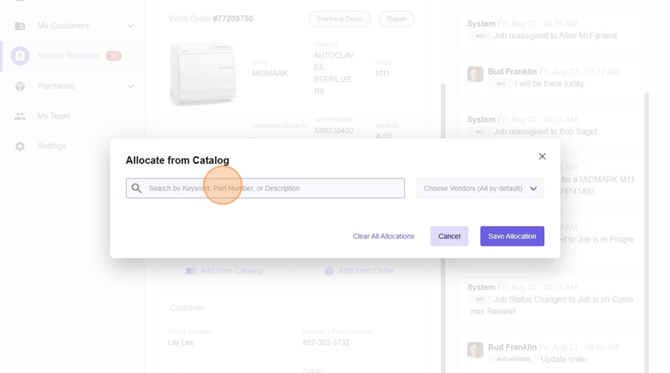
- Click the Part that needs to be ordered.

- Select "Allocate Item"
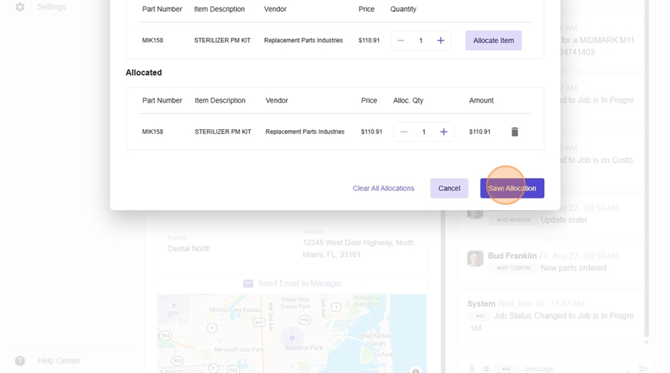
- Select "Save Allocation"
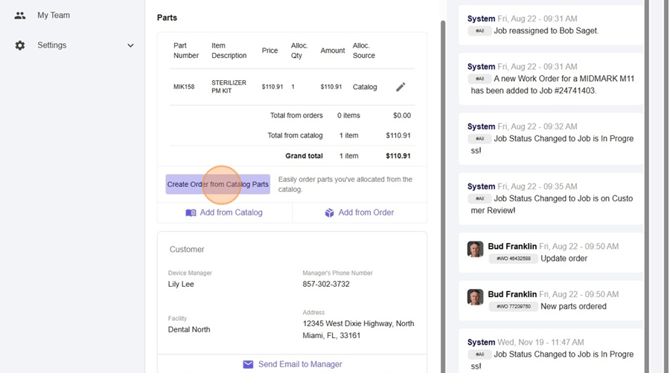
- To transition this into a RMA or warranty parts order. Select Create order from catalog parts on the job.
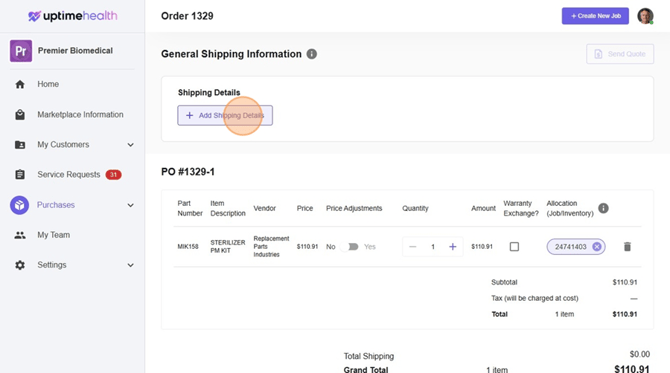
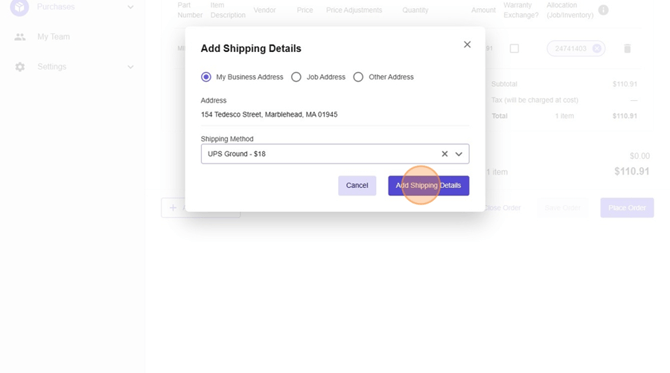
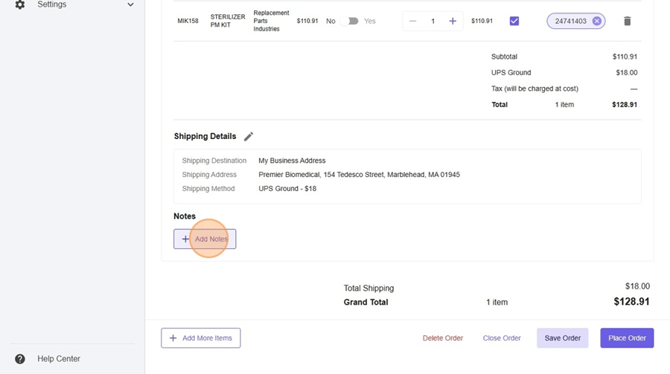
- Add your shipping details.
- Select our shipping method.
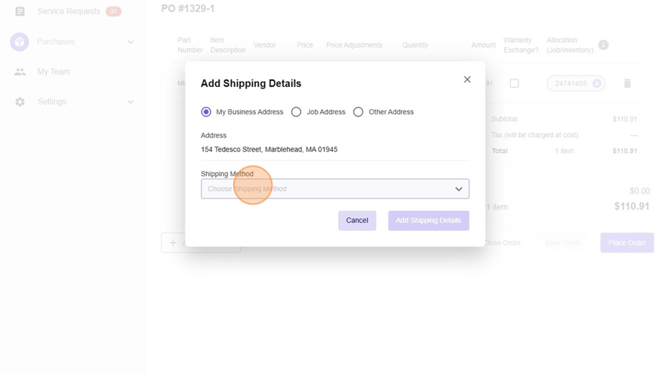
- Select add shipping details.
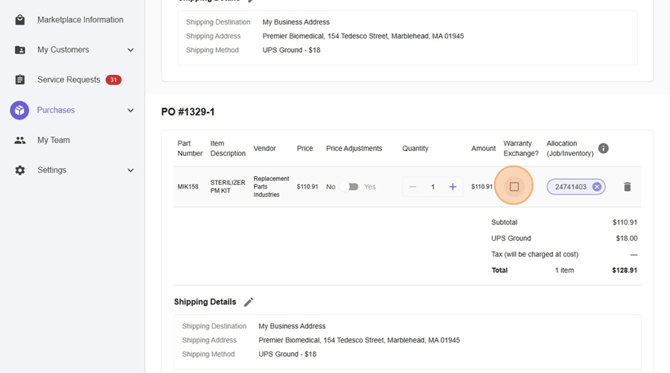
- Select Price Adjustments - add $0
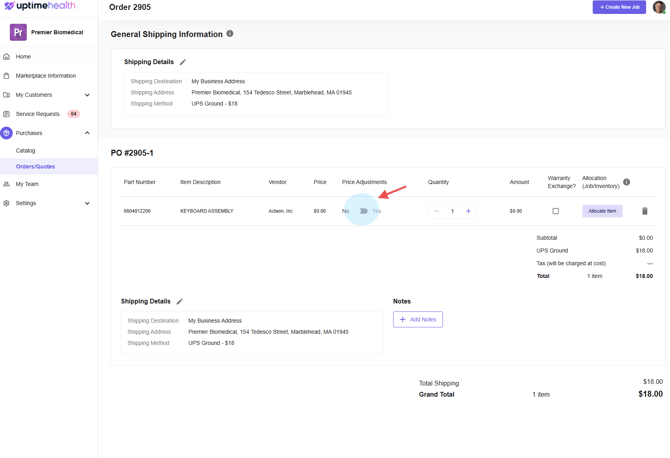
- Select the Warranty Exchange check box.
- Select add notes.
- In the notes section. You're going to add your RMA number if you already have it. Or you're going to add "RMA Needed" to the UptimeServices Notes section.
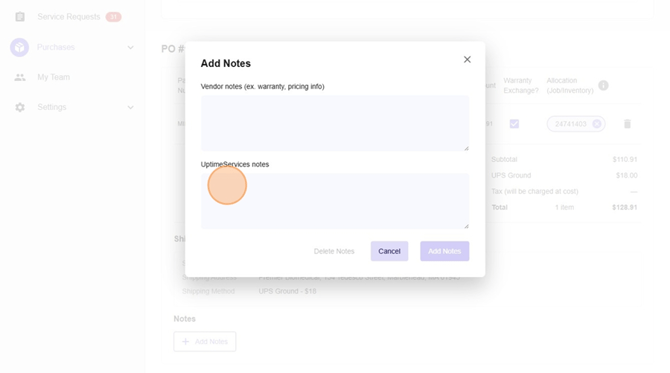
- Click "Add Notes"

- Then Select Place Order. This will send this order directly to the Purchasing Team for review and next steps for the Warranty/RMA process.
English